Bleed and Margin Technical Guide
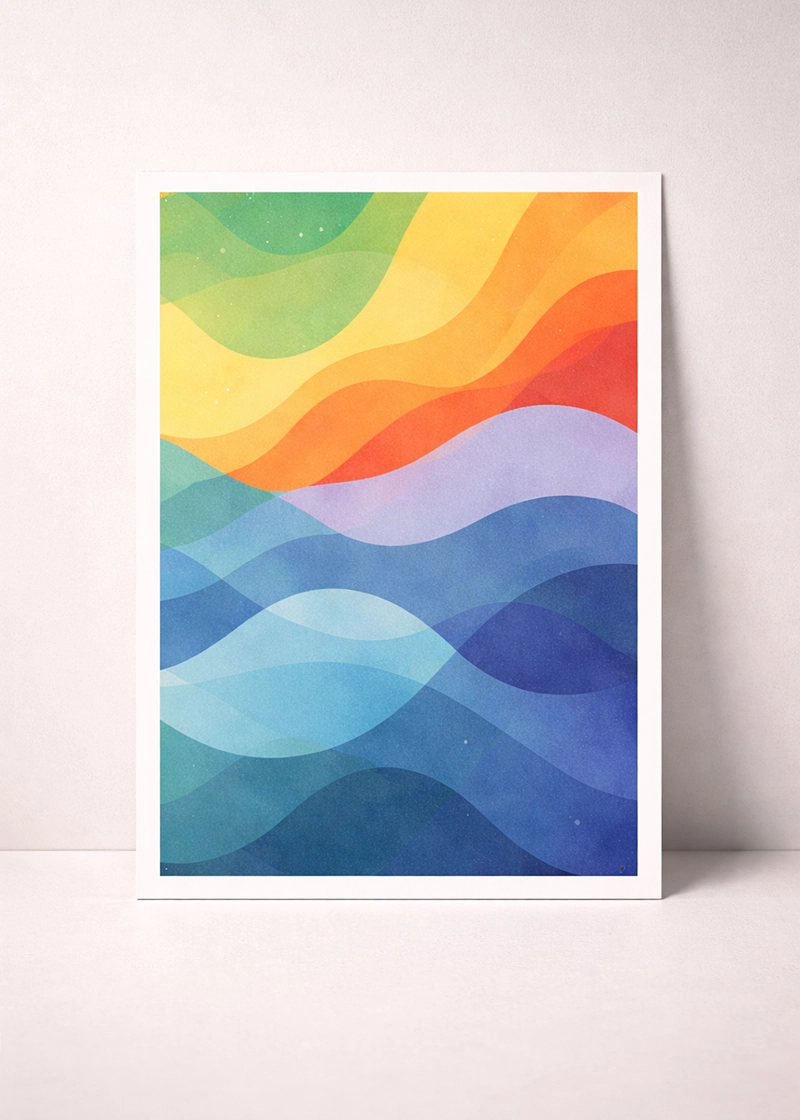
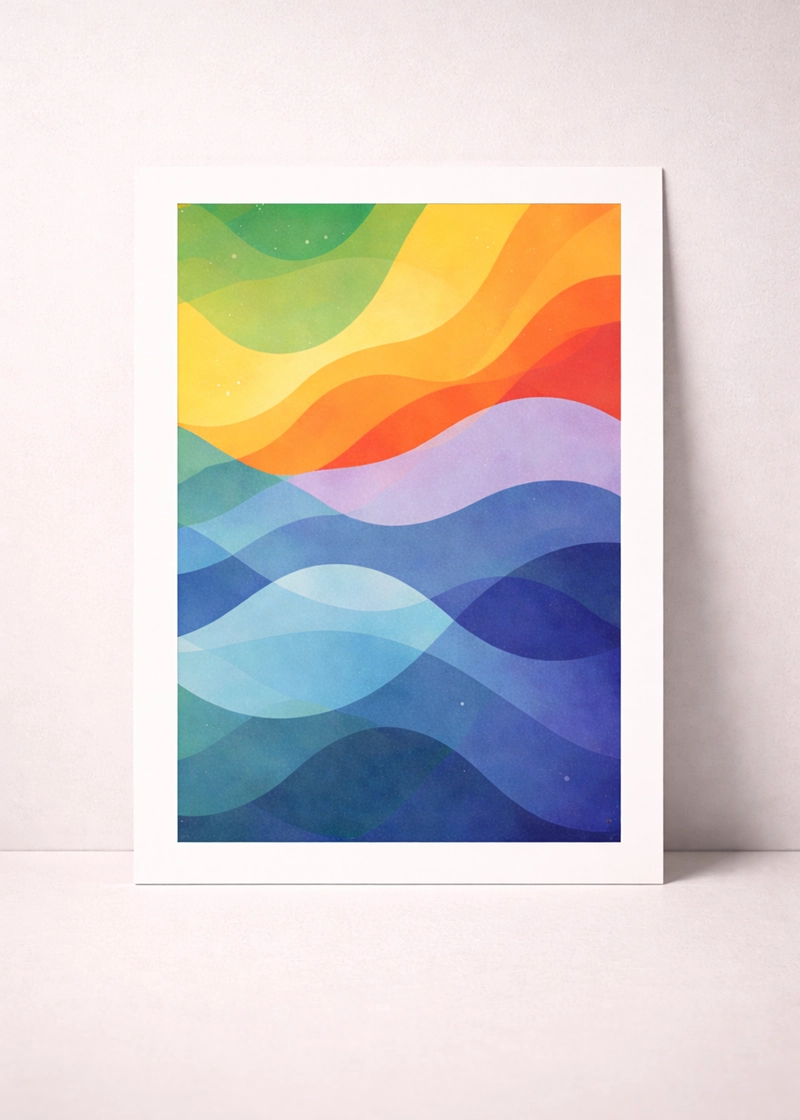
Understanding Bleed Requirements
To ensure your print products look professional and avoid unwanted white edges or cut-off text, set up your files using these industry-standard guidelines.
■ The Bleed Line
Extend background images and colors 0.125" (3mm) beyond the trim edge. This prevents white slivers if the cut shifts slightly.
■ The Trim Line
This is the final size after cutting. For a standard 4x6" print, the trim line is exactly 4x6". Your file should be slightly larger to include bleed.
■ The Safe Zone
Keep text, logos, and key details at least 0.125" inside the trim line so nothing important gets clipped during trimming or binding.
Pro Print Tips
Never place text right on the trim line. Even precise cutters can vary slightly. A generous margin makes designs look more intentional.
Use at least 300 DPI at final size. Scaling up low-res images will pixelate no matter how perfect the bleed is.
If your design has a background color or texture, it must fill the entire canvas (including bleed) to prevent thin white edges.
Still not sure? Use our templates.
We’ve prepared pre-set files for Photoshop, Illustrator, and InDesign with the correct margins already configured for the products you offer.